
An acceptance testing workflow is the stakeholder-led sequence a team follows to validate that a system supports real business workflows, ending in a formal sign-off or go/no-go decision. That decision rests on documented evidence: test results, a defect summary, and a list of known limitations the business agrees to accept. It typically runs through eight ordered phases, from requirements review to final approval.
TL;DR:
- Setting clear entry and exit criteria in writing before UAT begins prevents scope creep and ensures a focused testing cycle.
- Designing end-to-end scenarios based on actual business workflows helps uncover integration issues that isolated tests may miss.
- Using staging environments with masked production data and verifying access reduces delays and environment instability during testing.
- Automated evidence capture tools, like session recordings and transcriptions, improve defect reproduction and facilitate duplicate detection.
- Agile teams should combine continuous story-level acceptance testing with less frequent end-to-end UAT to maintain workflow speed and integration quality.
Table of Contents
- What Are the Steps in an Acceptance Testing Workflow?
- How Do You Run Each Phase of Acceptance Testing?
- What Best Practices Prevent Acceptance Testing From Running Off the Rails?
- How Does Acceptance Testing Change in Agile Teams?
- What Tools Support an Efficient Acceptance Testing Workflow?
- Why Disciplined Acceptance Testing Pays for Itself
- Speed Up Acceptance Testing With Automated Evidence Capture
- Sources
What Are the Steps in an Acceptance Testing Workflow?
Acceptance testing confirms software meets business requirements and is ready for production, and business users usually run it while QA supports the process. The workflow behind that confirmation follows a fairly consistent sequence across most enterprise teams, and knowing the shape of it before you start saves you from reinventing the wheel mid-project.
A step-by-step UAT process generally moves through these eight phases:
- Requirements review. The business analyst and QA lead walk through requirements and confirm every acceptance criterion is testable and unambiguous.
- UAT planning. The project manager sets scope, schedule, participant list, and the entry and exit criteria that will gate the whole cycle.
- Scenario and test-case design. QA and business users draft scenarios that mirror actual business workflows, not just screen-by-screen clicks.
- Environment and data preparation. QA or a dedicated environment owner builds a production-like staging setup with realistic, masked data.
- Test execution. Business users run scenarios, often alongside a QA facilitator, and log results as they go.
- Defect triage and fixing. QA and dev leads review new defects daily, assign severity, and route fixes into the pipeline.
- Retest and regression. Testers verify each fix and confirm it hasn’t broken anything nearby.
- Sign-off. The product owner and business sponsor review the evidence and issue a formal go or no-go decision.
Ownership shifts along the way. The business analyst tends to drive requirements and scenario design, the QA lead owns environment readiness and defect tracking, and the product owner holds the pen at sign-off. One quick reminder before you dive in: entry criteria (stable build, no open blocker defects, documented acceptance criteria) and exit criteria (agreed defect thresholds, completed scenarios) should be written down before day one, not negotiated mid-cycle.
How Do You Run Each Phase of Acceptance Testing?
Each phase above has its own objectives, artifacts, and failure modes. Here’s what actually happens inside each one, and where teams tend to trip.
Requirements review
This phase exists to catch vague or contradictory requirements before they turn into disputed test results. Build a traceability matrix that maps every requirement to at least one test scenario. If a requirement doesn’t map cleanly to a scenario, it isn’t testable yet, and that’s a signal to send it back for clarification. Clarifying acceptance criteria at this stage, rather than during execution, is one of the cheapest fixes in the entire cycle. A PM’s guide to acceptance criteria types breaks down how to write measurable, testable conditions instead of open-ended descriptions like “the system should work correctly.”
UAT planning
Planning locks down scope, schedule, and the roster of participants, along with the escalation path for when something goes wrong. Decide up front who signs off, who can approve scope cuts, and who gets escalated a defect that threatens the release date. A common mistake here is treating the schedule as fixed and the scope as flexible, when it should usually be the reverse. If the business hasn’t confirmed which workflows matter most, the schedule is just a guess dressed up as a plan.
Scenario and test-case design
Scenarios should test business processes end to end, across systems, rather than isolated screens. A checkout flow, for example, isn’t one test case, it is a chain: browse, add to cart, apply a discount code, pay, receive confirmation, and see the order reflected in the fulfillment system. Each scenario needs a precondition, a set of steps, an expected result, and explicit pass/fail criteria. A sample entry might read: “Precondition: customer has an active account and one item in cart. Steps: apply expired discount code. Expected result: system rejects the code with a clear error message, cart total unchanged.” That level of specificity is what turns a vague “test the checkout” instruction into something a business user can actually execute and judge.

Environment and data preparation
Nothing derails a UAT schedule faster than an unstable or unrealistic environment. Use a staging environment that mirrors production configuration, masked production data that reflects real volume and edge cases, and stubs for any third-party integrations you can’t safely hit live. Confirm access and permissions for every participant before execution starts, not on the morning of day one. Teams that skip this step often burn the first two days of UAT just getting people logged in and finding the data they need. A guide to preparing UAT sessions walks through building that environment properly before testers ever touch it.
Test execution
Schedule sessions in blocks, and decide ahead of time which scenarios are scripted and which are left open for exploratory testing. Scripted sessions confirm known workflows behave as expected; exploratory sessions catch the things nobody thought to write down. Every defect needs reproducible steps, a screenshot or short video, and enough context that a developer doesn’t have to chase the tester down to understand what happened. A feedback tool built for UAT bug tracking can cut a lot of that back-and-forth by attaching evidence directly to the ticket at the moment it’s logged.
Defect triage
Severity labels should map to business impact, not just technical difficulty. A defect that blocks the checkout workflow for every customer outranks a cosmetic bug on an internal admin screen, even if the admin bug is technically harder to fix. Assign an owner to every defect the same day it’s logged, and agree on a fix-to-deploy SLA before the cycle starts. Most teams that run into trouble here skip the daily triage meeting once things get busy, which is exactly the moment it matters most.
Retest and regression
Retesting confirms the specific fix works; regression confirms it didn’t break anything else. Define retest rules early: does a fix need full scenario replay, or just the failed step? Automated regression suites should absorb the repetitive checks, freeing human testers to focus on the workflows that actually require judgment. A breakdown of regression testing in UAT covers real scoping decisions teams face when a fix touches shared code.
Sign-off
Sign-off needs three artifacts at minimum: a test summary showing what was run and what passed, a defect log showing what’s open versus resolved, and a documented list of any deferred items the business has explicitly accepted. Skipping the deferred-items list is common and it’s a mistake, because it leaves ambiguity about what “done” actually meant. A guide to signing off on UAT test cases lays out what a complete sign-off record should include before handoff to release.
What Best Practices Prevent Acceptance Testing From Running Off the Rails?
The teams that run smooth UAT cycles tend to share a small set of habits, and the ones that struggle tend to share a small set of mistakes. Here’s the short version of both.
What works:
- Set entry and exit criteria in writing before UAT starts, and don’t let scope creep loosen them mid-cycle.
- Prioritize business-critical scenarios first, so a schedule slip hits the least important tests, not the most important ones.
- Run a daily triage meeting, even a 15-minute one, rather than batching defect review into once-a-week sessions.
- Capture evidence (screenshots, videos, logs) at the moment a defect is found, not from memory an hour later.
- Staff the fix pipeline so developers can turn around business-critical defects within a day, not a sprint.
What derails cycles:
- Ambiguous acceptance criteria that let two people disagree on whether a test passed.
- An unstable environment where deployments happen mid-testing, invalidating results testers already logged.
- Letting testers run scenarios while developers push code to the same environment in parallel.
- Treating QA staff as stand-ins for business users, which produces technically clean results that don’t reflect how the business actually works.
Fixing defects after launch carries real business cost compared with catching them during UAT, and a fast fix-to-deploy cadence during the cycle is one of the more direct ways to control that risk.
Pro Tip: Agree on the fix-to-deploy SLA before UAT begins, not after the first blocker defect shows up. Negotiating turnaround time in the middle of a crisis always favors whoever has the most leverage that day, and it’s rarely the testing team.
How Does Acceptance Testing Change in Agile Teams?
Sprint-based delivery doesn’t eliminate acceptance testing, it just splits it into two layers. Story-level acceptance happens continuously, at the end of each sprint, confirming a single feature meets its acceptance criteria in isolation. Release-level end-to-end UAT happens less often, focused on cross-cutting business workflows that span multiple stories and systems.
The two complement each other rather than compete. Agile teams typically keep story-level acceptance continuous and reserve a scoped end-to-end UAT for each release, rather than running a full-scale UAT cycle every two weeks. That keeps the workflow lightweight without sacrificing the release-level check that catches integration problems no single story would ever surface.
Automation should absorb the repetitive regression checks, leaving human testers to validate the workflows that actually require judgment, such as whether a discount calculation feels right across an unusual combination of promotions.
What Tools Support an Efficient Acceptance Testing Workflow?
You don’t need a single monolithic platform to run good UAT, but a few tool categories consistently reduce friction: session and evidence capture, defect intake with backlog sync, test orchestration, environment provisioning, data masking, and automated regression suites.
The integration pattern that works best across most of these categories is the same: auto-create a backlog ticket with reproduction steps attached, label it clearly as a UAT defect so it doesn’t get lost in the general bug queue, attach media or screen recordings directly to the ticket, and keep a visible triage status so nobody has to ask “is this fixed yet” in a separate channel.
- Evidence capture: tools that record sessions and transcribe issues in real time, so testers don’t have to write up steps from memory. A technical profile of modern transcription models gives useful background on how real-time speech-to-text accuracy has improved for exactly this kind of use.
- Defect intake and backlog sync: direct integrations into Jira, Azure DevOps, or ServiceNow that skip manual re-entry.
- Test orchestration: platforms that manage complexity across multiple test suites and environments, an area where orchestration approaches increasingly overlap with UAT scheduling logic.
- Environment provisioning and data masking: tools that spin up staging environments and anonymize production data automatically.
The right mix favors tools that reduce friction for business users while leaving the actual pass/fail judgment in human hands. Automation should never make the acceptance decision. It should just make the evidence easier to collect.
Why Disciplined Acceptance Testing Pays for Itself
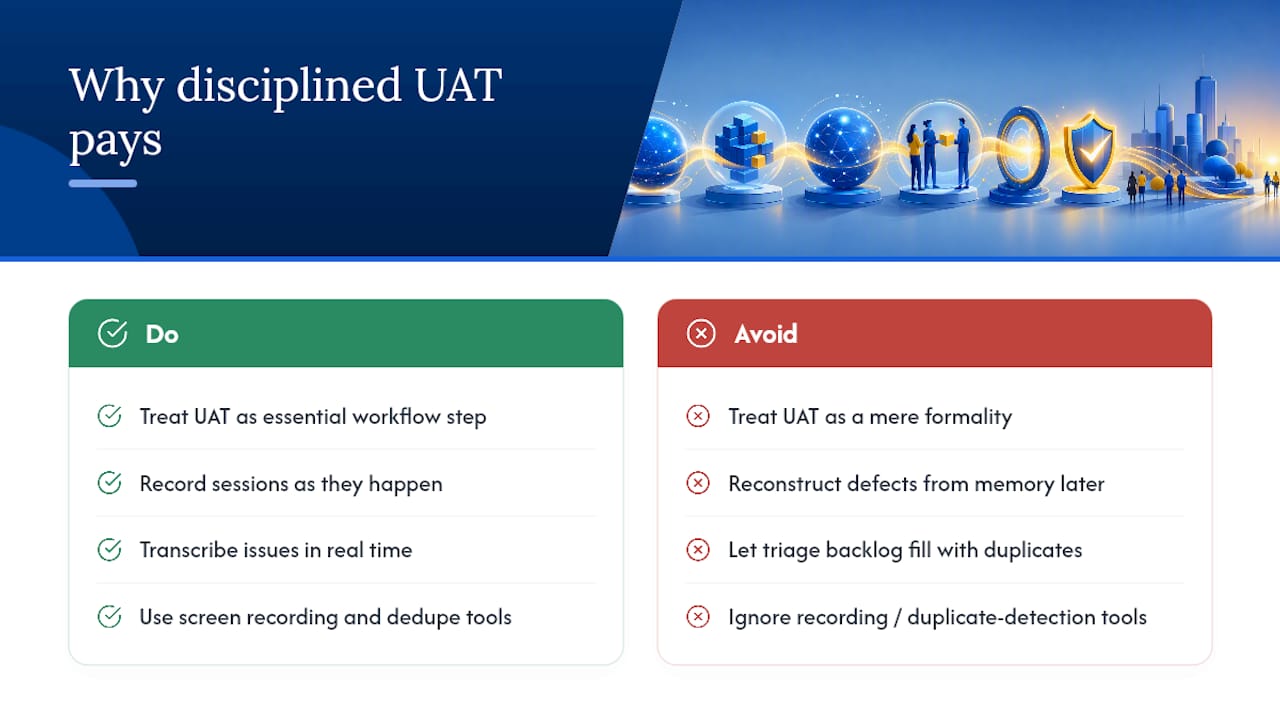
Most teams treat UAT as a formality wedged between development and release, and that’s the mistake. The real value of a disciplined acceptance testing workflow isn’t the sign-off document itself, it’s the fact that defects caught during UAT cost a fraction of what the same defects cost after launch. That gap isn’t abstract. It shows up in emergency patches, angry support tickets, and the kind of Friday-afternoon hotfix nobody wants to own.
The teams that get this right treat evidence capture as part of the workflow, not an afterthought. Recording a session as it happens and transcribing the issue in real time, rather than reconstructing it from a tester’s memory an hour later, closes a gap that costs most teams days of back-and-forth every cycle. Wezardapp’s screen recording and duplicate-detection features exist for exactly this reason, and they’re worth considering once your triage backlog starts filling with tickets that turn out to be the same bug reported three different ways. If your team is still writing up UAT defects from memory after the session ends, that’s the first thing worth fixing.
— Marketing
Speed Up Acceptance Testing With Automated Evidence Capture
Every phase above depends on clean evidence: a reproducible defect report, a clear severity call, a fast route into the backlog. Some acceptance testing tools are built around exactly that gap. They record the tester’s screen, transcribe the issue as it is described out loud, and use AI to flag duplicate tickets before they reach your Jira or Azure DevOps queue.
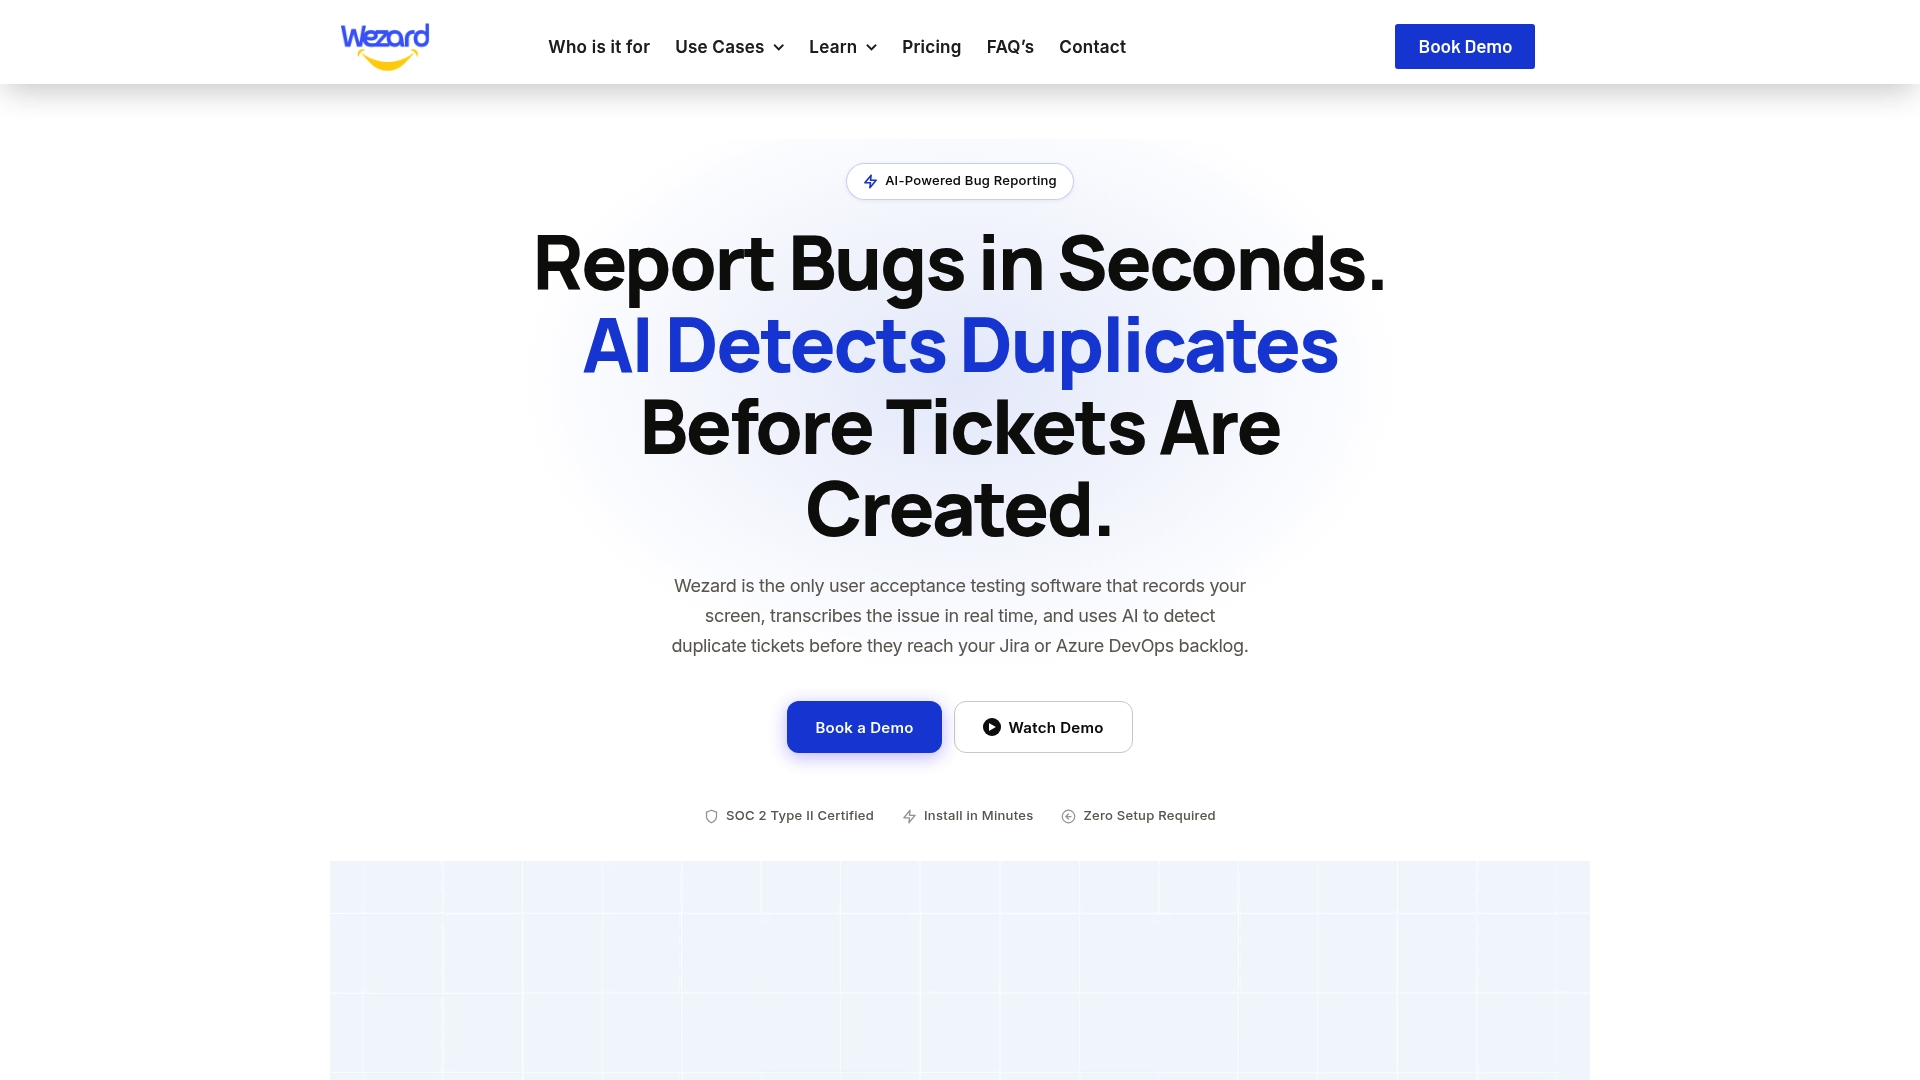
That combination matters most during the execution and triage phases, where a vague bug report (“checkout was broken”) turns into a wasted round-trip between the business user and the developer trying to reproduce it. With a recorded session and a transcript attached automatically, developers get the full context on the first pass instead of the third. Duplicate detection also trims the noise that tends to build up during a busy UAT week, when three testers report the same broken discount code in three different tickets.
If you’re planning your next UAT cycle, take a look at how entry criteria shape a clean testing start, then try a demo of Wezardapp to see how automated evidence capture fits into your own defect triage process.