
Auto-capture tools record the failing path as you work and turn it into developer-ready reproduction evidence once you trim the raw output into a minimal, falsifiable repro. A usable report needs three things: a clean step list, visual proof like screenshots or a session link, and environment details or logs. Use auto-capture for intermittent bugs, exploratory testing, and reports written by nontechnical users.
TL;DR:
- Auto-capture tools record multiple evidence layers, including screenshots, DOM structures, console logs, and timestamps, to aid debugging.
- Building a minimal, falsifiable reproduction involves replaying, trimming, and capturing environment details to produce a clear test-like bug report.
- Manual trimming and environment verification remain necessary for timing-sensitive, visual, or sensitive data issues, even with automation.
- Using native OS tools, browser extensions, or session replay platforms depends on required structure, speed, and the level of manual cleanup willing to be performed.
- Automated solutions like Wezard streamline capturing, transcription, and deduplication, bringing effort savings to bug reporting workflows.
Table of Contents
- How auto-capture works and what it actually collects
- What tools can capture your steps right now
- Turning raw captures into a minimal, falsifiable repro
- Fitting auto-capture into your existing bug workflow
- Why a falsifiable repro is the whole point
- When automation is enough and when you still have to step in
- A practical option: automating capture, transcription, and dedupe
- FAQ
- Sources
How auto-capture works and what it actually collects
Auto-capture tools record several layers of evidence at once instead of relying on a tester’s memory of what happened. A typical session includes an annotated screenshot sequence, the DOM structure and element selectors behind each click, tap and cursor coordinates, timestamps, console logs, network traces, device and browser metadata, and sometimes an AI transcription of what the tester said while reproducing the issue.
Each artifact answers a different question for the developer reading the ticket.
- Screenshots show what the interface looked like at the moment of failure, which matters for visual bugs a step list alone cannot describe.
- DOM data and selectors let a developer find the exact element involved instead of guessing from a vague description like “the button.”
- Console logs and network traces surface the actual error message or failed request, often the fastest route to a root cause.
- Timestamps and event sequences help with timing-related bugs, where the order and speed of actions matter as much as the actions themselves.
None of this is free of friction. Dynamic pages can change selectors between recording and replay, so a captured click target might not exist anymore by the time a developer opens the file. Flaky timing issues can look different on replay than they did live. And raw captures can contain personal data, payment details, or other sensitive content, which means someone has to review a recording before it leaves the testing environment. Automated captures earn their value when they produce structured exports, meaning step text paired with images and logs, rather than a long video a developer has to scrub through manually. Structured output maps more directly into ticket fields and cuts the time spent on triage, according to Microsoft’s guidance on Steps Recorder.
What tools can capture your steps right now
You do not need specialized software to start capturing reproduction steps today. The right choice depends on how much structure you need versus how fast you need to move.
- Built-in OS tools like Windows’ Problem Steps Recorder capture screenshots and generate annotated step text automatically, though Microsoft has marked PSR for deprecation and points users toward newer screen recording features instead.
- Browser extensions such as Chrome Step Recorder track clicks and page state, exporting structured steps or annotated screenshots that paste directly into a ticket.
- A plain screen recording plus manual annotation works when nothing else is available: record the failure, then pull key frames and write a short step summary afterward.
- Session replay and UAT platforms sit a level higher, capturing console logs, environment metadata, and full session context, and connecting that evidence directly to issue trackers so testers skip manual file attachment.
Speed, fidelity, and context trade off against each other across these categories. A built-in recorder is fast but produces raw screenshots with little context. A session replay platform takes more setup but delivers a complete, ticket-ready package. Pick based on how much manual cleanup you are willing to do before filing.
Turning raw captures into a minimal, falsifiable repro
Raw capture output is rarely ticket-ready on its own. A bug report earns the label “reproducible” only after someone strips it down to the smallest sequence that still triggers the failure, a process practitioner guidance on minimal reproductions describes as isolating variables, removing unrelated parts, and freezing anything nondeterministic.
Work through the capture in this order:
- Replay the capture once, start to finish, before changing anything.
- Isolate the exact actions that trigger the failure and note where the recording includes unrelated clicks or navigation.
- Trim everything that is not required to produce the bug.
- Capture deterministic inputs, meaning the exact values, files, or accounts used, so another person can enter the same thing.
- Collect environment details and logs: app version, operating system, browser, and any console or network output tied to the failure.
- Write the expected result and the actual result as two separate, plain sentences.
A minimal repro checklist belongs at the top of the ticket: exact steps, expected versus actual behavior, environment (app version, OS, browser), relevant console or network snippets, timing notes if the bug is intermittent, and links to the attached recording or session. Developer-focused writing on debugging frames a good repro as something that reads like a test, with a stated failure, listed inputs, and a measurable signal that proves whether a fix worked.
Before filing, reproduce the issue once more in a clean environment, an incognito window or a fresh virtual machine, and record whether it still happens. This single step catches a surprising number of “bugs” that turn out to be local cache or extension issues.
Pro Tip: When a bug is timing-dependent, capture one deterministic signal, such as a stubbed network response or a timestamped console event, so the repro becomes something you can measure rather than something you hope happens again.
Fitting auto-capture into your existing bug workflow
Capture only has value once it lands in a ticket someone will actually read. Decide upfront how it gets there: a direct file upload, a session link pasted into the description, or a short text summary with paste-ready steps above the fold.
- A few ticket fields make captures useful at triage: trimmed reproduction steps, a reproduction confidence rating, environment details, links to log files, and a verification status showing whether someone confirmed the repro before filing.
- A workable triage flow runs verify, tag, assign, then add a regression test or link the ticket to a minimal test harness so the fix can be checked later.
- Deduplication gets easier when captures carry consistent metadata: a hash of the console error, the page URL, and a stack trace snippet are usually enough to flag that two tickets describe the same failure.
Internal guidance on paste-ready bug reproduction steps and on writing clear bug reports for developers covers both the ticket template and the expected-versus-actual framing in more detail.
Why a falsifiable repro is the whole point
Veteran testing guidance puts it plainly:
This is the original guidance on reporting bugs effectively, and it still holds. Captured screenshots, logs, and timestamps are the raw material. A minimal reproduction turns that material into something closer to a test a developer can run, stop, and rerun. Platforms that combine screen recording with transcription and automatic duplicate detection, the approach Wezard takes, exist to shorten the distance between a raw capture and that runnable test.

When automation is enough and when you still have to step in
Automated capture collects facts fast: screenshots, logs, timestamps, a recording. What it cannot do is decide which five of those fifty actions actually matter, that judgment stays with the tester. Timing-sensitive bugs, visual-only glitches, and anything touching sensitive data still need a human to trim the capture, redact what should not ship to a backlog, and confirm the repro actually fails on replay. Treat auto-capture as the evidence-gathering step and your own verification as the step that makes the report usable.
— Marketing
A practical option: automating capture, transcription, and dedupe
Everything in this article, the screenshots, the logs, the environment details, the trimmed step list, is exactly what Wezard automates during user acceptance testing. It records the screen, transcribes the issue in real time as the tester talks through it, and builds an enriched ticket with console logs and session context attached before anything reaches your backlog.
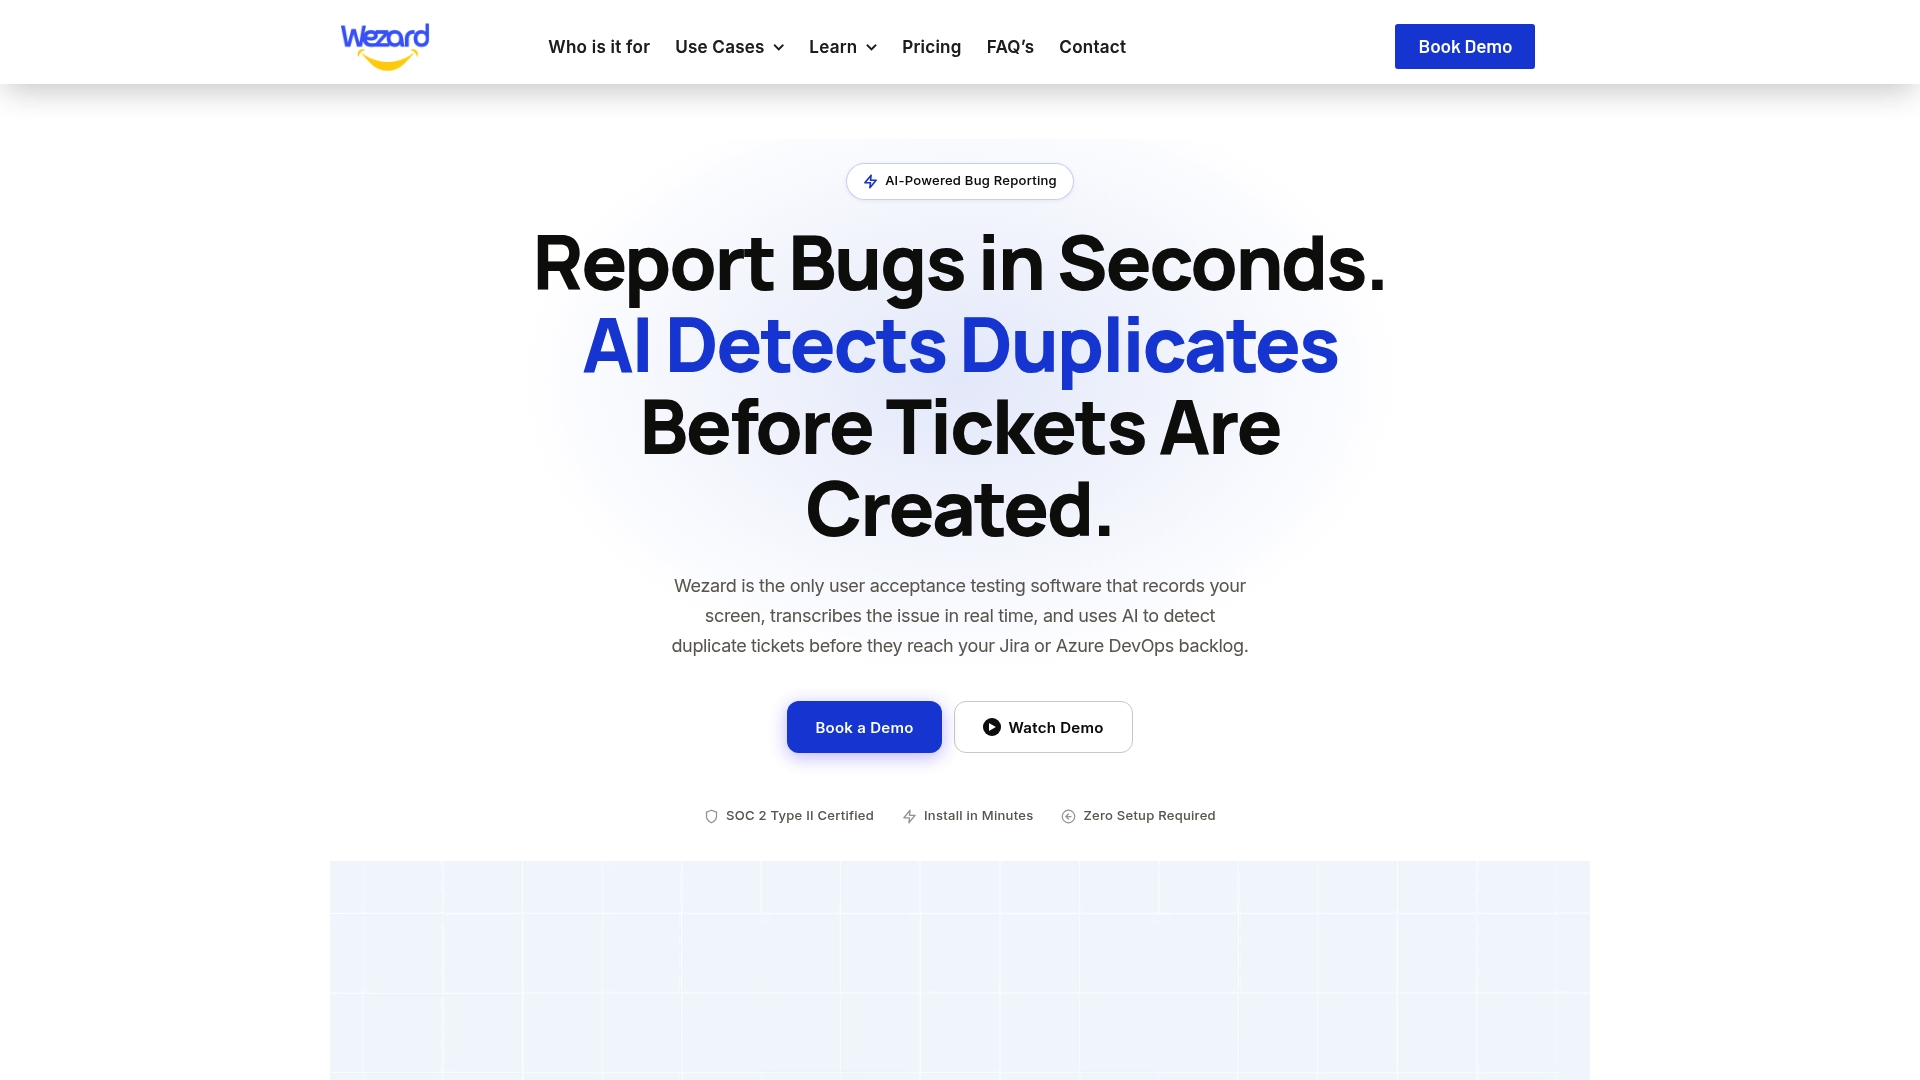
That maps directly onto the checklist earlier in this piece: Wezard auto-populates environment data, attaches the session recording, and flags likely duplicates using AI before a ticket ever lands in Jira or Azure DevOps, cutting down the duplicate noise teams usually sort through by hand. Plans start with various subscription levels; see current pricing on the Wezard pricing page or explore how it fits an existing QA workflow on the UAT testing feedback tool page.
FAQ
How do I take a screen capture step-by-step?
Use a built-in tool or browser extension to record the screen while you perform the failing actions, then export the result as either a video or an annotated step sequence. Trim the capture down to only the actions needed to trigger the bug before attaching it to a ticket.
What is the meaning of steps to reproduce?
Steps to reproduce are the exact sequence of actions someone else can follow to make a bug happen again on their own machine. A strong version includes the inputs used, the environment, and what result was expected versus what actually happened, as described in guidance on effective bug reporting.
How do I use Snagit to capture steps?
Snagit records the screen and lets you annotate individual frames with arrows, text, and highlights after capture, which works well for building a step-by-step image sequence. It is one option among several screen recording and annotation tools testers use to document a bug visually.
How can I record a step-by-step process?
Record the full process with a screen recorder, then pull out the key frames at each decision point or failure and add short text labels describing what happened. Pairing the recording with console logs or network data, where available, gives a developer a more complete and reproducible report.
Sources
Claims in this article draw on Microsoft’s support documentation for Steps Recorder, veteran guidance on reporting bugs, and practitioner writing on minimal reproductions and debugging. A partner resource on session replay is included for readers who want an external perspective on capture-based debugging.
- Steps Recorder deprecation – Microsoft Support
- How to Report Bugs Effectively
- How to turn a bug report into a minimal reproduction
- How to fix any bug
- Chrome Step Recorder – Chrome Web Store