
Every release needs to clear ten gates before it ships: functional flows, compatibility, performance, API and integration, security, accessibility, visual regression, SEO and analytics, a pre-launch smoke run, and post-launch verification. Miss any one of them and you are debugging in production.
Here are the highest-risk P0 checks to run right now:
- Core user flows pass end-to-end (sign up, sign in, checkout, key admin actions)
- Authentication and session handling work across all supported browsers
- All forms validate correctly and submit without data loss
- Critical API endpoints return expected status codes and schemas
- No OWASP Top 10 blockers (injection points, exposed debug endpoints, insecure auth)
- WCAG 2.2 AA automated scan passes with zero critical violations
- Core Web Vitals are within threshold (LCP under 2.5s, CLS under 0.1)
- Visual regression baseline matches on primary breakpoints
- Smoke test suite is green in the staging environment
- Analytics events fire for signup and conversion goals
Sign-off requires: QA lead confirms P0 items pass, product owner approves the release scope, and at least one automated regression suite runs clean in CI before the production push.
Pro Tip: Run your smoke suite against a production-mirrored staging environment, not a dev sandbox. Differences in environment config cause more last-minute blocks than actual code bugs.
Table of Contents
- What does a QA checklist cover, and which variant should you use?
- How to plan QA scope, environments, test data, and sign-off criteria
- How do you build a compatibility testing matrix?
- API and integration testing: what to verify on every release
- Accessibility testing: automated scans are only half the job
- How do you run visual regression testing without false positives?
- SEO, analytics, and monitoring checks before and after launch
- Pre-launch smoke checklist and post-launch monitoring timeline
- How to report bugs, prioritize issues, and sign off releases
- How do you build and maintain a QA checklist that stays useful?
- Key Takeaways
- The QA trade-off most teams get wrong
- Wezardapp cuts the time between a bug found and a bug fixed
- Authoritative sources and further reading
What does a QA checklist cover, and which variant should you use?
Not every release needs the same depth of testing. Applying a full pre-launch checklist to a one-line hotfix wastes hours; skipping it on a major redesign is how you break checkout for a weekend. The right answer is three distinct variants mapped to release type.
| Variant | Scope | Who Owns It | Example Items |
|---|---|---|---|
| Full pre-launch | All categories: functional, compatibility, performance, API, security, accessibility, visual, SEO, analytics | QA lead + product owner | End-to-end user flows, cross-browser matrix, Core Web Vitals, OWASP scan, WCAG audit, sitemap check |
| Release QA | Main user flows, auth, forms, UI, data, integrations, fixed-bug verification, regression smoke | QA engineer | Happy-path flows, regression smoke, integration contract checks, fixed-ticket verification |
| Patch/smoke check | Critical path only, smoke tests, no regressions introduced | Developer or on-call QA | Login, checkout, key API calls, error page check, analytics ping |
The website launch QA checklist is the right starting point for first public launches, major redesigns, and domain migrations. For shipping a new feature or version, the release QA checklist covers the minimum: main user flows, auth, forms, UI, data, integrations, fixed-bug verification, and a post-release check. Hotfixes get the patch/smoke variant only.
Timing matters too. Run the full pre-launch checklist at least 48 hours before go-live so there is time to fix P0 blockers. Release QA runs after code freeze in staging. Patch/smoke runs immediately post-deploy in production.
Minimum automation per variant:
- Full pre-launch: full regression suite plus Lighthouse CI and an accessibility scan
- Release QA: P0 automated flows plus API contract tests
- Patch/smoke: smoke suite only, triggered automatically on deploy
How to plan QA scope, environments, test data, and sign-off criteria
Good QA planning prevents two expensive problems: testing the wrong things and not knowing when you are done. Both are more common than they should be.
Start with risk-based prioritization. Label every feature area P0 (blocks release if broken), P1 (degrades experience but has a workaround), or P2 (minor or edge-case). P0 areas typically include authentication, payment flows, data persistence, and any integration that feeds downstream systems. Assign an owner to each area before testing starts, not after a bug surfaces.
Automating P0 tests and running them in CI on every pull request is the single highest-return investment in a QA process. P1 tests run nightly or on a scheduled pipeline. P2 items are manual or periodic.
Environments and test data. Your staging environment should mirror production config as closely as possible: same infrastructure tier, same feature flags, same third-party integrations pointed at sandbox endpoints. Test data needs to be representative but scrubbed of real PII. For UAT specifically, use a separate environment with controlled data sets so testers do not accidentally modify staging state. Document which feature flags are active in each environment and keep that list current.
Entry and exit criteria are what separate a real sign-off from a vague “looks good.”
Entry criteria (before testing starts):
- Build is stable and deployed to the correct environment
- Smoke test suite passes
- All dependencies (APIs, third-party services) are reachable
- Test data is loaded and verified
- Test plan is reviewed and owners are assigned
Exit criteria (before production push):
- All P0 items pass or have an accepted workaround documented
- Regression smoke is green
- No open P0 or P1 bugs without an approved risk acceptance
- Monitoring and alerting are enabled for the new release
- Sign-off is recorded from QA lead and product owner
The ISO 9001 compliance checklist structures QA governance across context, planning, operation, and improvement clauses. That framework translates directly to how you document test plans, track audit trails, and schedule process reviews.
Pro Tip: Flaky tests are a planning problem, not just a code problem. Before a release, audit your automation suite and quarantine any test that has failed intermittently in the last two weeks. Running unreliable tests in CI erodes trust in the entire suite faster than having fewer tests.
For a deeper look at how acceptance criteria map to sign-off gates, the ownership model becomes clearer when criteria are written as testable conditions rather than descriptions.
| Planning Task | Owner | Done When |
|---|---|---|
| Test plan written and reviewed | QA lead | Approved by product owner |
| Environments configured | DevOps / QA | Smoke test passes in each env |
| Test data prepared and scrubbed | QA engineer | Data verified against schema |
| Roles and owners assigned | QA lead | All P0 areas have a named owner |
| Automation run list confirmed | QA engineer | CI pipeline runs clean |
How do you build a compatibility testing matrix?
Browser and device coverage is the area where teams most often over-invest or under-invest. The fix is a tiered coverage model.
Core tier (test every release, real devices or BrowserStack): Chrome latest, Safari latest on iOS, Firefox latest, Edge latest. These cover the majority of real user traffic for most U.S. web products.
Extended tier (test on major releases, emulated or BrowserStack): Chrome on Android, Safari on macOS, Samsung Internet. Add any browser that appears in your analytics above a meaningful traffic threshold.
Legacy tier (test quarterly or on explicit request): older OS versions, non-mainstream browsers. Accept residual risk here and document it.
| Browser | OS | Viewport | Minimum Checks |
|---|---|---|---|
| Chrome latest | Windows | — | Full P0 flows, forms, auth |
| Safari latest | iOS | — | Touch targets, scroll, checkout |
| Firefox latest | macOS 14 | — | Auth, forms, visual spot-check |
| Edge latest | Windows | — | P0 flows, visual spot-check |
| Chrome latest | Android 14 | — | Touch, forms, payment |
| Samsung Internet | Android 14 | — | Smoke only |
Emulated viewports in Chrome DevTools are fast and good enough for layout checks. Real devices catch touch-event bugs, font rendering differences, and hardware-specific behavior that emulators miss. BrowserStack gives you real-device access without maintaining a device lab, which is the practical choice for most teams.
Pro Tip: On real devices, run only the critical path: sign in, complete the primary action, and verify the result. Save the full regression for emulated coverage. You get the hardware fidelity where it matters and the speed of emulation everywhere else.
API and integration testing: what to verify on every release
API bugs are the hardest to debug in production because they often produce silent data corruption rather than visible errors. A solid API testing checklist catches them before they ship.
Core checks for every API endpoint:
- Schema and contract compliance: response body matches the documented schema; no undocumented fields added or removed
- Status code coverage: 200 for success, 400 for bad input, 401 for unauthenticated, 403 for unauthorized, 404 for missing resource, 500 for server error
- Authentication and authorization: valid token returns data; expired token returns 401; a user cannot access another user’s resources
- Rate limiting: exceeding the limit returns 429 with a Retry-After header; the client handles it gracefully
Example happy-path request and expected response for a user profile endpoint:
GET /api/v1/users/{id}with a valid bearer token returns200and a JSON body matching the user schema- Same request with an expired token returns
401 {"error": "token_expired"} - Same request for a different user’s ID returns
403 {"error": "forbidden"} - Same request for a non-existent ID returns
404 {"error": "not_found"}
Postman handles all four of these in a single collection with environment variables for the token and user ID. Run the collection in Newman for CI integration.
Retries and idempotency. A POST that creates a record should be idempotent when called twice with the same idempotency key. Test that the second call returns the original record rather than creating a duplicate. For downstream system failures, verify that circuit-breaker behavior kicks in: the service degrades gracefully rather than cascading the failure.
Logging and alerting. Every integration failure should write a structured log entry with enough context to reproduce the issue. Verify that your monitoring tool (Datadog, New Relic, or equivalent) receives the error event and that the on-call alert fires within the expected window.
Accessibility testing: automated scans are only half the job
Automated accessibility tools catch roughly 30–40% of WCAG issues. The rest require a human. That split is why accessibility testing needs both.
Automated checks to run on every release:
- Run axe-core (via the axe DevTools browser extension or axe-core in your test suite) against all primary pages
- Run WAVE against key user flows to catch contrast failures and missing labels
- Confirm zero critical violations before release; log moderate violations as P1
What automated tools miss and must be checked manually:
- Keyboard navigability: tab through every interactive element in order; confirm focus never gets trapped in a modal or dropdown
- Visible focus states: every focused element must have a visible outline; do not rely on browser defaults if your CSS resets them
- Color contrast: automated tools flag obvious failures but miss text over gradient backgrounds and icon-only buttons
- ARIA roles and attributes: MDN’s ARIA documentation is the authoritative reference for validating role usage, required attributes, and state management in custom components
- Forms: every input has an associated label (not just a placeholder), error messages are announced by screen readers, and required fields are identified programmatically
Prioritizing accessibility issues:
- P0: keyboard trap, missing form labels on required fields, zero-contrast text on primary CTAs
- P1: missing alt text on informational images, incorrect ARIA roles on interactive components
- P2: minor contrast issues on decorative elements, redundant ARIA labels
WCAG 2.2 AA is the baseline for U.S. web products. Section 508 compliance for federal contractors maps closely to WCAG 2.1 AA, so WCAG 2.2 AA coverage satisfies both.
How do you run visual regression testing without false positives?
Visual regression testing catches UI breaks that functional tests miss: a CSS change that shifts a button two pixels, a font that fails to load, a layout that collapses on a specific viewport. The challenge is keeping the signal-to-noise ratio high enough that the team actually acts on failures.
Workflow for screenshot baselines:
- Capture baselines in a deterministic state: mock the current time, use fixed test data, and disable animations
- Set a pixel-diff threshold of 0.1–0.5% for most components; tighten it to near-zero for critical UI like checkout buttons and navigation
- Exclude dynamic content regions (timestamps, ad slots, user avatars) from the diff area using ignore masks
Triage rules for visual diffs:
- Cosmetic change (intentional design update): update the baseline, document the change in the PR
- Functional regression (layout breaks, element hidden, button unreachable): treat as P0 or P1 depending on the affected flow
- False positive (animation frame captured mid-transition, dynamic content leaked): fix the test setup, not the baseline
When to use visual regression vs manual UI review: visual regression is fast and consistent for catching regressions in existing UI. Manual review is better for evaluating new designs, checking brand consistency, and catching issues that require human judgment about aesthetics.
Pro Tip: Anchor every visual test to a deterministic state by injecting a fixed date and seeding the database with static fixtures before the screenshot runs. One hour spent on test setup saves dozens of false-positive investigations across the life of the suite.
A visual feedback tool used during UAT can complement automated visual regression by capturing annotated screenshots directly from testers, giving developers reproducible visual context without a separate bug-filing step.
SEO, analytics, and monitoring checks before and after launch
These checks are easy to skip because they do not break the UI. They do break your ability to measure and find the product.
SEO basics to verify before every launch:
- Every page has a unique, descriptive
<title>tag (50–60 characters) and a<meta description>(under 160 characters) - Canonical tags point to the correct URL; no self-referencing canonicals on paginated content
robots.txtdoes not accidentally block crawlers from key pages; verify in Google Search Console after deploysitemap.xmlis updated and submitted; all URLs in the sitemap return 200- No broken internal links on primary navigation and footer
Analytics verification:
- Confirm the analytics tag fires on every page (use browser network tab or a tag debugger)
- Verify that the signup event fires exactly once per successful registration
- Confirm the purchase/conversion event sends the correct order value and product ID
- Check that funnel steps fire in the correct sequence without duplicates
- Verify that UTM parameters pass through to conversion events
Monitoring setup before go-live:
- Error rate alerting: alert if 5xx error rate exceeds 1% over a 5-minute window
- 404 monitoring: alert on a spike in 404s, which often signals a broken redirect after a URL change
- Traffic drop alerting: alert if organic traffic drops more than 20% week-over-week (catches accidental noindex or robots.txt blocks)
Pre-launch smoke checklist and post-launch monitoring timeline
The pre-launch smoke run is the last gate before production. It should take under 30 minutes and cover only the items that, if broken, would require an immediate rollback.
Pre-launch quick list:
- Smoke test suite passes in staging (all P0 automated tests green)
- Critical path verified manually: sign in, primary action, confirmation
- Payment flow completes with a test card in the payment sandbox
- Analytics tag fires on the homepage and conversion page
- DNS resolves correctly; CDN cache is purged for changed assets
- SSL certificate is valid and not expiring within 30 days
- All environment variables are set correctly in production config
Post-launch monitoring timeline:
0–2 hours (immediate post-deploy):
- Monitor error rate in real time; rollback if 5xx rate exceeds threshold
- Confirm analytics events are firing in the production environment
- Spot-check the critical path in production with a real user account
- Owner: on-call engineer + QA lead
2–24 hours (short-term monitoring):
- Review server logs for unusual error patterns
- Confirm background jobs are processing (no queue backlog)
- Check that new feature flags are behaving as configured
- Owner: QA engineer + product owner
72-hour verification:
- Compare conversion rates and key metrics against the pre-launch baseline
- Review any user-reported issues from support tickets
- Confirm no SEO signals have degraded (crawl errors, index coverage)
- Owner: product owner + QA lead
Pro Tip: Write a one-page rollback plan before every major launch. Include the exact commands to revert the deploy, the database migration rollback steps, and the person authorized to trigger it. A plan you wrote in advance takes 5 minutes to execute; one you write during an incident takes 45.
How to report bugs, prioritize issues, and sign off releases
A bug report that lacks reproduction steps is a support ticket, not a bug report. Every defect logged during QA should follow a consistent template.
Bug report template fields:
- Title: one-sentence description of the observed behavior
- Environment: OS, browser/version, device, build number, feature flags active
- Steps to reproduce: numbered, specific, starting from a known state
- Expected result: what should happen
- Actual result: what actually happens
- Logs and screenshots: console errors, network requests, annotated screenshot or screen recording
- Priority: P0/P1/P2 (see matrix below)
- Owner: assigned developer or team
A bug report without a screen recording or screenshot is a description of a problem, not evidence of one. The time a developer spends reproducing an unreproducible bug is time not spent fixing it. Require visual evidence for every P0 and P1 ticket.
Severity vs priority matrix:
| Severity | Priority | Rule |
|---|---|---|
| Blocks core flow, no workaround | P0 | Fix before release; escalate immediately |
| Degrades experience, workaround exists | P1 | Fix in current sprint or block release with risk acceptance |
| Minor, cosmetic, or edge case | P2 | Log and schedule; does not block release |
Sign-off checklist for production push:
- All P0 items are resolved and verified in staging
- All P1 items are resolved or have a documented risk acceptance signed by the product owner
- Regression smoke suite is green
- Outstanding risk log is reviewed and accepted
- QA lead signs off in writing (ticket comment, Slack message, or sign-off document)
- Product owner approves the release scope
QA reporting best practices cover the full triage workflow, including how to escalate P0 bugs during off-hours and how to structure the sign-off document for audit trails. For the specific sign-off handoff, how to sign off on test cases after UAT walks through the approval steps in detail.
How do you build and maintain a QA checklist that stays useful?
A checklist that is not updated after each release becomes a liability. Teams stop trusting it, start skipping items, and eventually abandon it. The process below keeps it accurate.
Pro Tip: Keep checklist items short and testable: “Login with valid credentials succeeds” is a checklist item. “Authentication works correctly” is a category heading. If a tester cannot mark an item pass or fail in under two minutes, it needs to be broken down further.
- Inventory your features. List every user-facing feature and backend integration. Group them by user journey, not by technical component.
- Map user journeys. For each feature group, write the primary happy path and the two or three most likely failure modes.
- Risk-rank each area. Assign P0/P1/P2 based on business impact if broken and likelihood of regression. Payment flows and auth are almost always P0.
- Create test cases. Write one test case per scenario: a title, preconditions, steps, and a pass/fail criterion. Keep them in a shared tool (TestRail, Zephyr, or a simple spreadsheet).
- Assign owners. Every test case has a named owner responsible for running it and logging results. No owner means no accountability.
- Automate P0 tests. Write automated tests for every P0 case and add them to the CI pipeline. P1 tests go into the nightly suite.
- Schedule reviews. Review the checklist after every major release (add new features, remove deprecated ones) and run a quarterly audit to check for coverage gaps.
The quality control checklist framework uses pre/during/post phases with a regular review cadence. That same rhythm applies directly to QA: pre-release planning, in-sprint testing, and post-release retrospective updates.
Maintenance rhythm in practice:
- After each major release: add test cases for new features, archive cases for removed features, update any thresholds that changed
- Quarterly audit: check automation coverage percentages, review P2 items for promotion to P1, and compare the checklist against the current product roadmap
- After a production incident: add a regression test case for the root cause before closing the incident ticket
A sample checklist structure to copy into your tool of choice:
Section: Authentication
  P0 | Login with valid credentials | Auto | CI
  P0 | Login with invalid credentials shows error | Auto | CI
  P1 | Password reset email delivers within 60s | Manual | Nightly
  P2 | Remember me persists across browser restart | Manual | Quarterly
Key Takeaways
A complete QA checklist covers ten categories, assigns a named owner to every P0 item, and runs automated P0 tests in CI on every pull request before any code reaches production.
| Point | Details |
|---|---|
| Three checklist variants | Use full pre-launch for major releases, release QA for features, and patch/smoke for hotfixes. |
| P0 automation in CI | Automate critical tests and run them on every PR; less critical tests run regularly or periodically. |
| Exit criteria before sign-off | All P0 items must pass, regression smoke must be green, and risk log must be reviewed and accepted. |
| Post-launch monitoring | Run immediate checks at 0–2 hours, short-term review at 2–24 hours, and a full verification at 72 hours. |
| Wezardapp for UAT sign-off | Wezardapp records screens, transcribes issues in real time, and detects duplicate tickets before they reach Jira or Azure DevOps, accelerating P0 triage and sign-off. |
The QA trade-off most teams get wrong
The conventional wisdom is that more coverage is always better. In practice, a checklist with 400 items that nobody trusts is worse than one with 60 items that the team runs faithfully on every release.
P0 automation is prioritized in this checklist because it is the only category where the cost of not automating is reliably higher than the cost of writing the test. A broken checkout flow caught in CI costs a developer 20 minutes. The same bug caught in production costs an engineer an emergency deploy, a product manager a post-mortem, and the business a measurable drop in conversion.
Manual exploratory testing adds the most value in two situations: immediately after a significant UI redesign, and when a new feature touches multiple systems in ways the automated suite does not cover. Scripted manual testing on stable, well-covered flows is mostly theater. It gives teams the feeling of thoroughness without the substance.
On device coverage: accept residual risk on legacy browsers and low-traffic devices. Document it explicitly in the risk log rather than pretending the coverage is complete. A risk you have named and accepted is manageable. A risk you ignored because the checklist was too long to finish is a production incident waiting to happen.
The checklist in this article is designed to be adopted incrementally. Start with the P0 automation and the pre-launch smoke run. Add compatibility and performance gates on the next major release. Build toward the full checklist over three or four release cycles rather than trying to implement everything at once and burning out the team.
Wezardapp cuts the time between a bug found and a bug fixed
The slowest part of most QA sign-off processes is not finding bugs. It is getting enough context into a ticket for a developer to reproduce and fix it without a back-and-forth that takes two days.
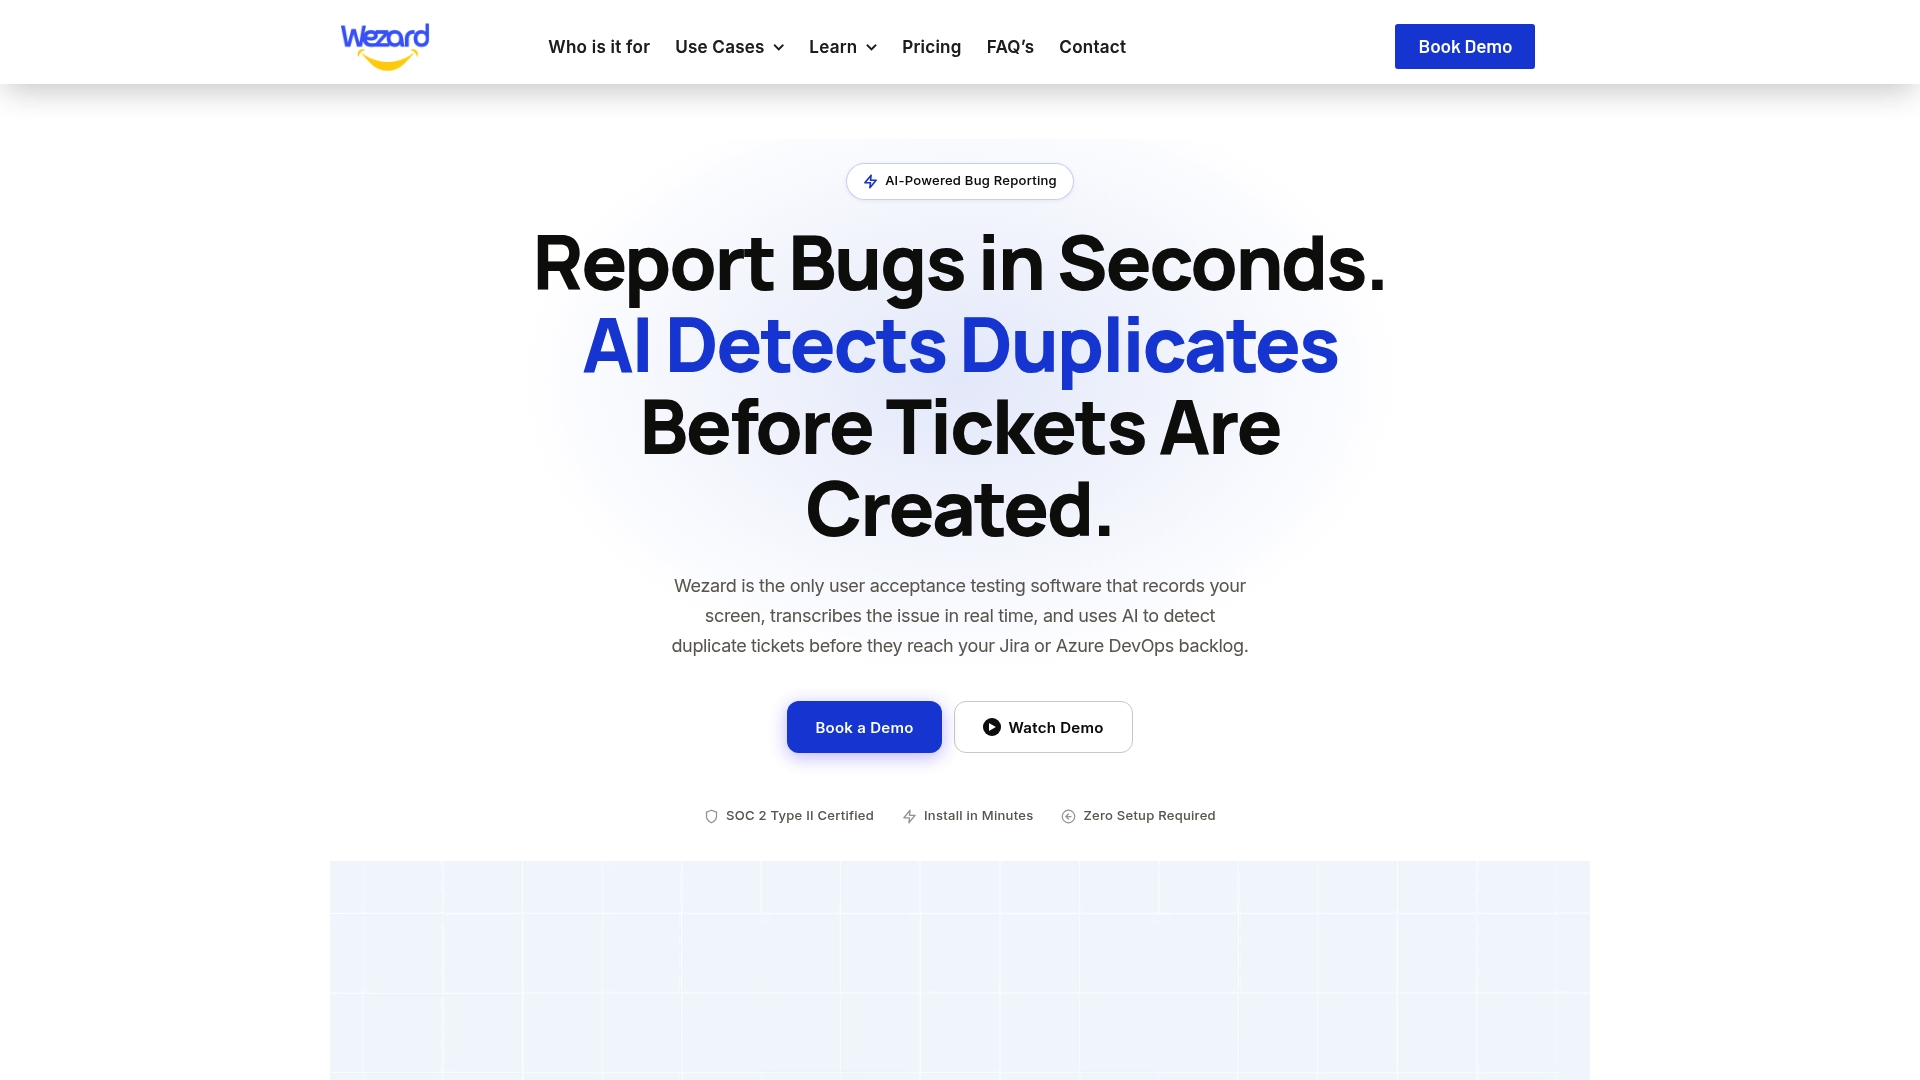
Wezardapp is built specifically for that gap. It records your screen during UAT, transcribes the issue in real time, and uses AI to detect whether the ticket already exists in your backlog before it creates a new one. The result: developers get a ticket with a screen recording, auto-generated reproduction steps, and no duplicates cluttering the queue. P0 bugs that used to take a day to triage get to a developer’s desk in minutes.
For teams running UAT testing alongside a QA checklist, Wezardapp integrates directly with Jira and Azure DevOps, so every verified bug flows into the backlog with full context attached. No copy-pasting steps, no missing screenshots, no “I can’t reproduce this” replies.
Start your UAT trial or explore how Wezardapp handles AI-powered bug tracking to see how it fits your sign-off workflow.
Authoritative sources and further reading
- Website Launch QA Checklist for SaaS, Landing Pages, and Web Apps | qa::checklist
- Release QA Checklist for Web Products and SaaS | qa::checklist
- QA Testing Checklist for Web Applications: 2026 Edition | Crosscheck – Visual Bug Reporting Tool
- Web Testing Checklist 2026: 150+ Test Cases Every QA Engineer Needs | QASkills.sh
- developer.mozilla.org
- Quality Control Checklist: Free QC Checklist Guide (2026) | Tetra Inspection
- ISO 9001 compliance checklist